Introduction to Steak and Chili

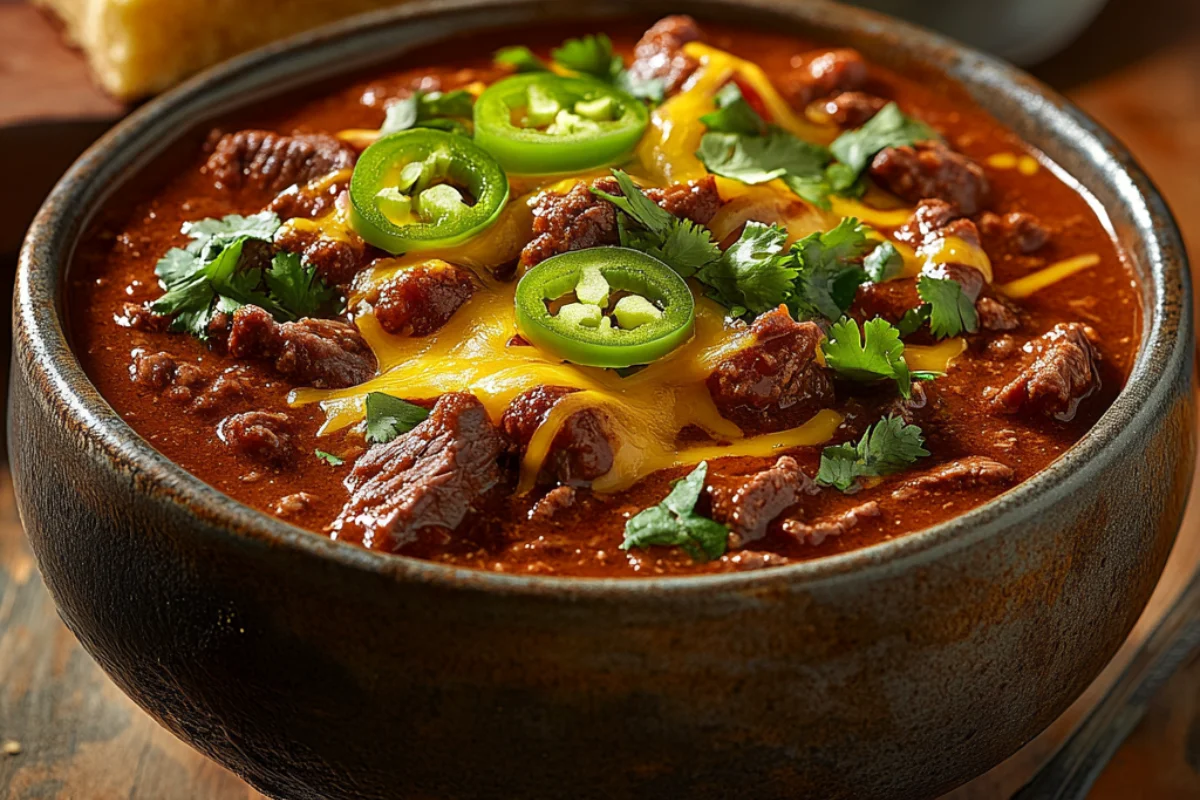
Steak and chili is the ultimate comfort food, blending rich, tender beef with a bold and spicy sauce that warms the soul. This dish has deep roots in American Southwest and Mexican cuisine, where cowboys and pioneers relied on hearty, slow-cooked meals to fuel their rugged lifestyles.
Chili itself dates back to the 1800s, evolving from simple beef-and-pepper stews to the complex and flavorful versions we enjoy today. While traditional chili often uses ground beef, upgrading to steak brings a new level of depth, texture, and richness that makes each bite unforgettable.
Why is steak and chili so popular?
- It’s hearty and filling, making it perfect for cold weather or game nights.
- It’s versatile, allowing for endless customizations with different spices, beans, and toppings.
- The slow cooking process enhances the flavors, making it even better the next day.
In this guide, we’ll break down why steak is the best choice for chili, essential ingredients, preparation tips, and common mistakes to avoid. Let’s dive in!
Why Steak Makes the Best Chili?
Many chili lovers debate whether to use ground beef or steak. While ground beef is classic, using steak takes the dish to a whole new level. Here’s why:
- Better Texture: Steak chunks provide a meaty, hearty bite that ground beef can’t match. Instead of a mushy texture, you get tender, juicy pieces of meat that absorb the sauce beautifully.
- Richer Flavor: Slow-cooked steak develops deeper umami flavors, making the chili taste more complex and satisfying.
- More Versatile: You can choose different steak cuts for varying levels of tenderness and fat content.
- Authentic Feel: Many traditional Texas-style chili recipes use chunks of beef, rather than ground meat, staying true to the dish’s original roots.
For the ultimate steak chili, selecting the right cut of meat is key—let’s explore the best options next.
Key Ingredients for a Perfect Steak and Chili Recipe
A great steak and chili recipe relies on quality ingredients and bold seasonings. Here’s what you’ll need:
Choosing the Right Cut of Steak
Not all steaks work well for chili. You need a cut that’s tender, flavorful, and holds up to slow cooking. Here are the top choices:
- Chuck Roast: High in fat and connective tissue, making it ideal for slow cooking. Results in ultra-tender meat.
- Brisket: Known for its deep beefy flavor, brisket adds richness to chili but requires longer cooking time.
- Sirloin: A leaner option that still offers good flavor and texture. Perfect for those who prefer less fatty cuts.
- Short Ribs: Adds extreme depth of flavor and becomes fall-apart tender.
Essential Spices and Seasonings
Spices are what make chili truly shine. Don’t skimp on these must-have ingredients:
- Chili Powder: The backbone of chili, providing heat and depth.
- Cumin: Adds a smoky, earthy undertone.
- Paprika: Enhances color and smokiness, especially if using smoked paprika.
- Garlic & Onion Powder: Essential for a rich, savory base.
- Oregano: A hint of herbal freshness balances the heat.
- Cayenne Pepper: For those who love extra spice.
The Role of Beans in Chili
To add beans or not to add beans? That’s the age-old debate!
- Traditional Texas Chili: No beans—just meat, chilies, and spices.
- Modern Chili: Includes beans (kidney, black, or pinto) for added texture and fiber.
There’s no right or wrong answer—it depends on personal preference. However, if you’re aiming for an authentic steak chili, skipping the beans might be the way to go.
Secret Ingredients for Extra Flavor
Want to elevate your steak and chili to the next level? Try adding one of these unexpected ingredients:
- Dark Chocolate: Adds subtle bitterness and enhances the chili’s deep flavors.
- Coffee: Boosts the richness with earthy undertones.
- Beer: A bold stout or lager adds complexity to the broth.
- Worcestershire Sauce: Brings umami and tangy depth to the chili.
These additions might sound unusual, but they create a next-level chili experience.
Equipment Needed for Cooking Chili
Cooking steak chili requires the right tools to ensure even cooking and flavor development. Here are the best options:
- Dutch Oven: Ideal for stovetop simmering and even heat distribution.
- Slow Cooker: Perfect for a set-it-and-forget-it method, allowing the meat to become ultra-tender.
- Stockpot: A basic but effective option if you don’t have a Dutch oven.
- Pressure Cooker (Instant Pot): Speeds up cooking time without sacrificing flavor.
Each method works, but low and slow cooking is the best way to achieve fork-tender steak chili.
Preparing the Steak for Chili
To maximize flavor, you need to properly prep the steak before adding it to the chili. Follow these steps:
- Trim Excess Fat: While some fat adds flavor, too much can make the chili greasy. Remove large fatty sections.
- Cut into Bite-Sized Cubes: About 1-inch cubes are ideal for a hearty texture.
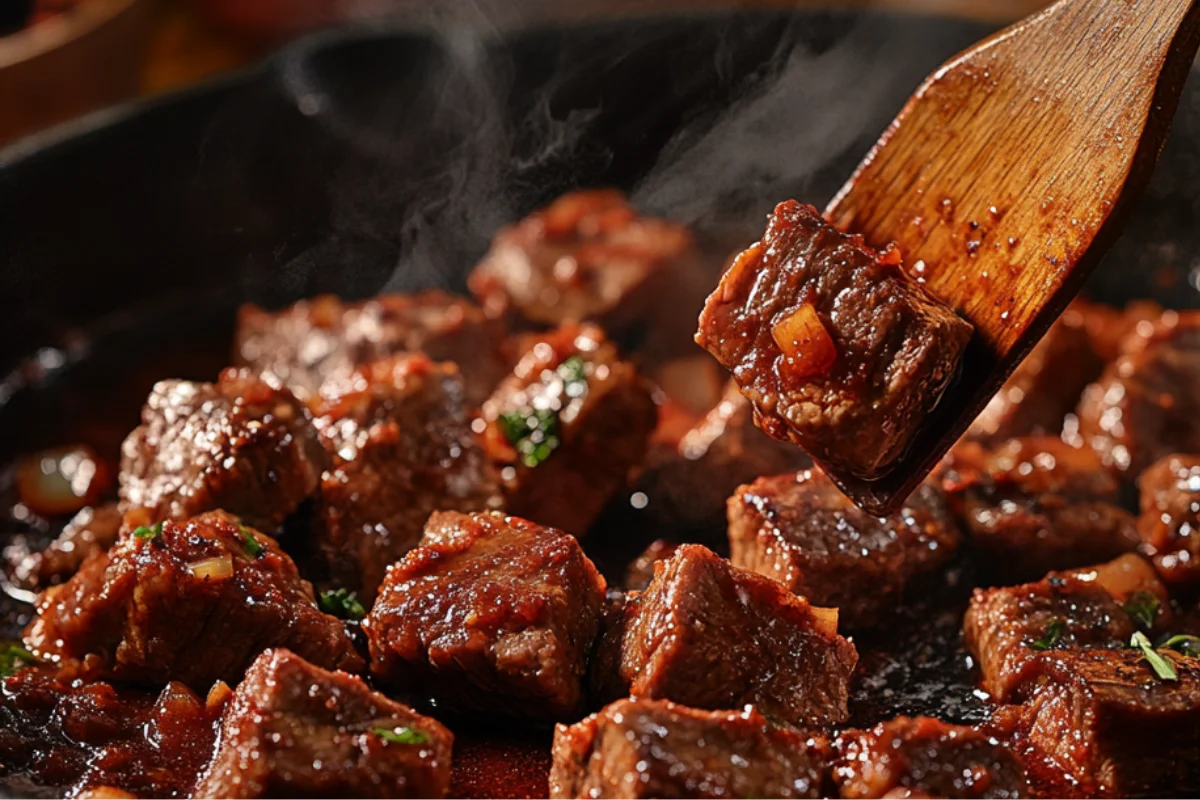
- Sear the Steak: Browning the steak first in a hot pan locks in juices and creates a rich, caramelized crust. This step is crucial for depth of flavor.
- Deglaze the Pan: Use a splash of beer, broth, or wine to lift the browned bits from the pan—these bits add amazing taste to the chili!
Taking the time to prep and sear the steak properly makes a massive difference in the final dish.
Common Mistakes to Avoid When Making Chili
Even experienced cooks can make mistakes when preparing steak chili. Avoid these pitfalls:
- Overcooking the Steak: If cooked too long at too high heat, the steak becomes tough. Slow cooking at a low temperature is key.
- Not Searing the Meat First: Skipping this step leads to a bland chili. Always sear your steak for maximum flavor.
- Using the Wrong Spices: Avoid bland chili by using a well-balanced mix of chili powder, cumin, garlic, and other seasonings.
- Making It Too Watery: Chili should be thick and rich. If it’s too thin, let it simmer uncovered to reduce excess liquid.
- Adding Beans Too Early: If using beans, add them towards the end to prevent them from becoming mushy.
By avoiding these mistakes, you’ll create a steak and chili that’s packed with bold, smoky, and savory flavors.
How to Cook Steak and Chili – Step-by-Step Guide
Cooking steak and chili is an art that requires patience, the right technique, and the best ingredients. By following this step-by-step guide, you’ll create a rich, flavorful chili that highlights the tenderness of steak and the depth of slow-cooked spices. Let’s break it down.
Preparing and Seasoning the Steak
Before you even turn on the heat, proper preparation and seasoning of the steak are essential for flavor development.
How to Prepare the Steak:
- Trim the Fat: While a little fat adds flavor, too much can make the chili greasy. Trim any large excess fat, but leave some for tenderness.
- Cut into 1-Inch Cubes: This size allows the meat to stay juicy while ensuring every bite is packed with beefy goodness.
- Pat Dry: Use a paper towel to remove excess moisture. This helps achieve a perfect sear later.
Seasoning the Steak:
Before cooking, generously coat the steak with:
- Salt & Black Pepper: Enhances the natural beefy flavor.
- Chili Powder & Cumin: The foundation of chili’s rich, smoky taste.
- Garlic & Onion Powder: Adds depth to the meat’s seasoning.
- Smoked Paprika: Gives a subtle smokiness to complement slow cooking.
For even more flavor, consider marinating the steak for at least 1 hour (or overnight) in:
- Beer or Worcestershire Sauce: Helps tenderize and infuse the meat with a deep umami taste.
- Lime Juice or Apple Cider Vinegar: Adds a hint of acidity to break down tough fibers.
Searing the Steak for Maximum Flavor

Searing is a crucial step that enhances the steak’s texture and flavor before adding it to the chili.
Why Sear the Steak?
- Locks in juices, keeping the steak tender.
- Develops a rich, caramelized crust that adds complexity to the chili.
- Releases fond (browned bits), which boost the chili’s overall taste.
How to Sear Steak Perfectly:
- Use a Heavy-Duty Pot: A Dutch oven or cast-iron skillet is best.
- Heat Oil Until Smoking: Use high-heat oils like vegetable or avocado oil.
- Sear in Batches: Avoid overcrowding the pan—give each piece space to brown.
- Don’t Stir Too Soon: Let each side brown for about 2 minutes before flipping.
- Deglaze the Pan: After removing the steak, add a splash of broth, beer, or wine to lift those flavorful bits from the bottom.
Once seared, set the steak aside while you build the chili base.
Building Layers of Flavor in the Chili Base
A great chili base starts with a rich foundation of aromatics and spices.
Step 1: Sautéing the Aromatics
After searing the steak, use the same pot to sauté onions, garlic, and peppers:
- Onions: Cook until soft and golden brown. This creates a sweet, caramelized base.
- Garlic: Add last to prevent burning, about 30 seconds before the next step.
- Peppers (Bell or Chili Peppers): Bring mild sweetness or extra heat, depending on your preference.
Step 2: Toasting the Spices
Before adding liquid, stir in chili powder, cumin, smoked paprika, oregano, and cayenne. Cooking them for about 1 minute in the hot oil intensifies their flavors.
Choosing the Right Cooking Liquid
The choice of cooking liquid influences the final taste and consistency of your chili. Here’s what works best:
- Beef Broth: Enhances the richness and complements the steak’s deep flavors.
- Beer: Adds complexity and a slightly bitter depth that pairs well with spices.
- Tomato Sauce or Crushed Tomatoes: Provides acidity and a thick, hearty texture.
- Coffee or Dark Chocolate: A secret ingredient that boosts umami and adds depth.
A good rule of thumb is to use a combination of these for a well-balanced broth.
Slow Cooking vs. Stovetop Cooking
Chili improves the longer it simmers. Here’s a comparison of the best cooking methods:
| Cooking Method | Pros | Cons |
|---|---|---|
| Slow Cooker (6-8 hours on Low) | Hands-free, deep flavor development | Takes longer |
| Stovetop (2-3 hours, simmering) | More control over seasoning and texture | Requires stirring and monitoring |
| Instant Pot (30-45 minutes) | Fastest method, still develops flavor well | Less control over texture |
For the best results, go with low and slow cooking—whether in a slow cooker or a simmering Dutch oven.
Simmering the Chili for the Perfect Texture
The key to great chili is letting it simmer until the flavors meld together. Here’s how:
- Bring to a Boil: Once all ingredients are combined, bring the pot to a gentle boil.
- Reduce to Low Heat: Simmer uncovered for at least 2 hours (longer if possible).
- Stir Occasionally: Prevents sticking and ensures even cooking.
For thicker chili, let it simmer uncovered for the last 30 minutes. If it’s too thick, add a splash of broth or beer.
Adjusting the Spice Level
Control your chili’s heat by tweaking these ingredients:
- More Heat: Add fresh jalapeños, chipotle peppers, cayenne, or habanero.
- Mild Heat: Stick to ancho chili powder and mild paprika.
- Balance Spice: A pinch of sugar or a square of dark chocolate can mellow out heat.
Pro tip: Always start mild—you can add heat later, but you can’t take it out!
When to Add Beans (If Using Them)
If you choose to add beans, timing matters.
- Canned Beans: Add them 30 minutes before serving to prevent mushiness.
- Dried Beans (Pre-Soaked): Add at the beginning so they cook fully.
For authentic Texas-style chili, skip the beans altogether.
Final Touches and Tasting Adjustments
Before serving, make final adjustments to ensure the perfect balance of flavor and texture:
- Check Thickness: If too thin, simmer longer. If too thick, add broth.
- Taste for Seasoning: Adjust salt, spice, and acidity as needed.
- Add Freshness: A squeeze of lime juice or chopped cilantro brightens up the dish.
Once everything is balanced, it’s time to serve your hearty, smoky, and tender steak chili!
How to Serve Steak and Chili Like a Pro
You’ve slow-cooked your steak chili to perfection, and now it’s time to serve it in a way that highlights its bold flavors and rich textures. The right presentation, toppings, and side dishes can turn your chili into an unforgettable meal. Whether you’re serving guests or just enjoying a cozy bowl yourself, here’s how to do it like a pro.
Best Toppings for Steak Chili

The right toppings add texture, contrast, and extra flavor to chili. Here are some of the best options to customize your bowl:
Classic Toppings:
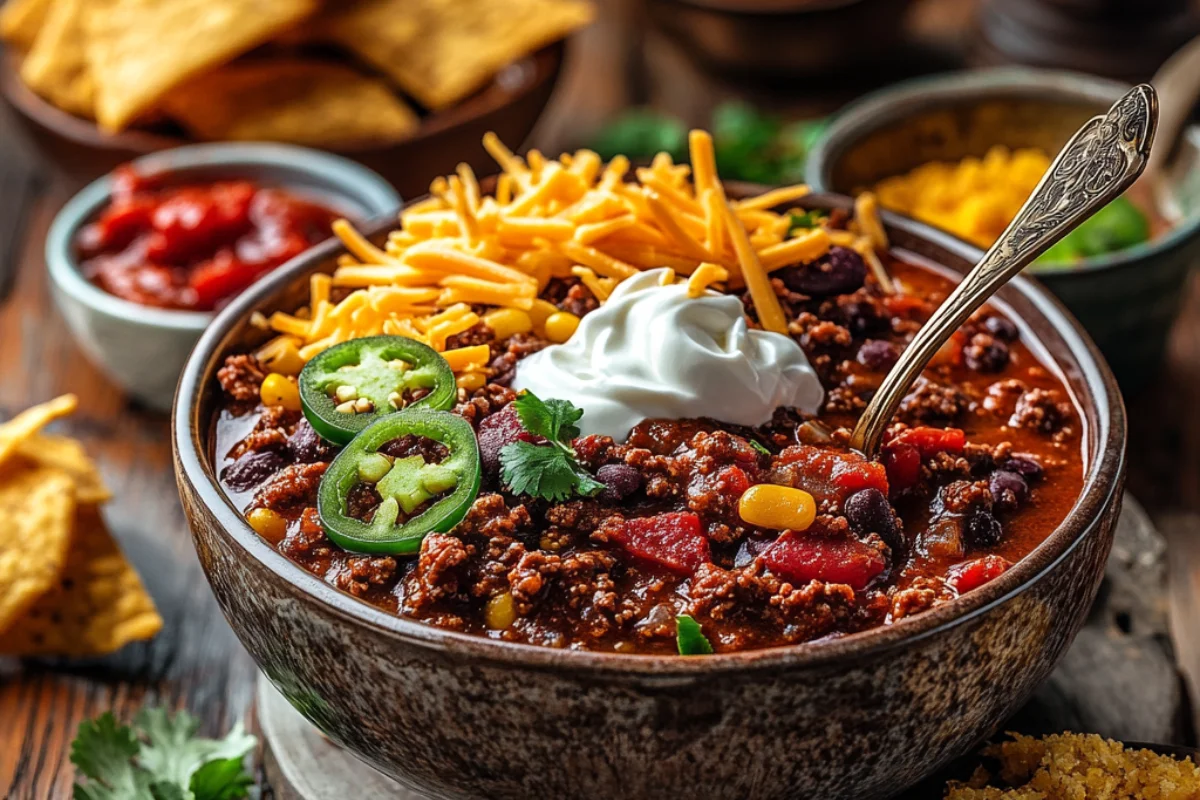
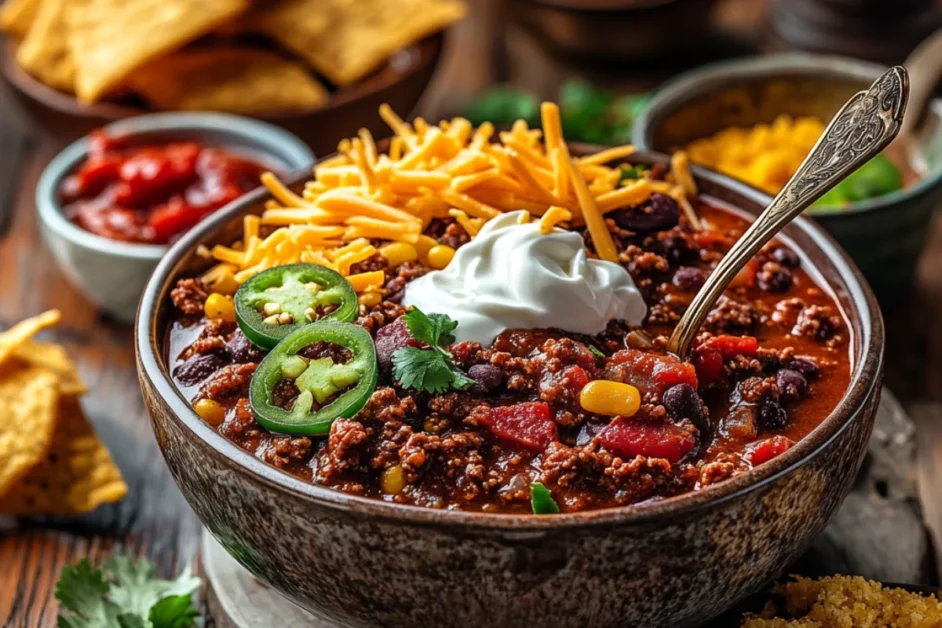
- Sour Cream – Balances heat with a cool, creamy contrast.
- Shredded Cheese – Cheddar, Monterey Jack, or Pepper Jack for extra richness.
- Sliced Jalapeños – Adds a spicy kick for those who like heat.
- Chopped Cilantro – Brings a fresh, herby brightness.
- Diced Red Onions – Adds a crisp bite and slight sweetness.
Hearty Toppings:
- Avocado Slices – Creamy and mild, perfect for toning down spice.
- Crushed Tortilla Chips – For a satisfying crunch.
- Crumbled Bacon – Adds a smoky, salty flavor boost.
Gourmet Toppings:
- Cotija or Queso Fresco – A salty Mexican cheese that melts beautifully.
- Pickled Red Onions – Adds tang and sweetness.
- Chili Oil Drizzle – For an extra layer of heat and depth.
Pro Tip: Let guests customize their bowls with a toppings bar, offering a variety of options.
Perfect Side Dishes to Serve with Chili
Pairing your steak chili with the right side dishes enhances the meal. Here are some of the best options:
Classic Pairings:
- Cornbread – Sweet, buttery cornbread is the ultimate chili companion.
- Rice – White or brown rice helps absorb the rich chili sauce.
- Baked Potatoes – A fluffy baked potato topped with chili is a meal on its own.
Hearty & Filling Sides:
- Grilled Cheese Sandwich – The perfect combo of crispy bread and melted cheese with chili.
- Loaded Nachos – Chili as a topping for cheesy nachos is next-level delicious.
- Buttery Biscuits – Soft, flaky biscuits work well for scooping up chili.
Lighter Options:
- Roasted Vegetables – A side of roasted bell peppers, zucchini, or mushrooms balances the heaviness.
- Cabbage Slaw – A fresh, tangy slaw adds crunch and cuts through the richness.
Making a Spicy vs. Mild Chili Version
Not everyone enjoys the same spice level, so here’s how to customize the heat:
For a Spicy Chili:
Use habaneros or serrano peppers for a fiery kick.
Add chipotle in adobo sauce for smoky heat.
Stir in extra cayenne pepper or hot sauce to taste.
For a Milder Chili:
Swap out spicy chilies for mild Anaheim or bell peppers.
Reduce or omit cayenne and jalapeños.
Stir in extra sour cream or cheese to tone down heat.
Pro Tip: Serve chili with extra hot sauce on the side, so everyone can adjust their own spice level.
Variations on the Classic Steak and Chili Recipe
Love experimenting in the kitchen? Try these fun variations on traditional steak chili:
Texas-Style Steak Chili (No Beans)
- Uses only beef, chilies, and spices (no tomatoes or beans).
- Thickened with masa harina or cornmeal for a deep, rich texture.
Smoky Chipotle Chili
- Uses chipotle peppers in adobo for a smoky-spicy taste.
- Includes roasted tomatoes and a touch of cocoa powder for richness.
White Steak Chili
- Made with steak, white beans, and green chilies instead of red sauce.
- Uses a creamy broth with sour cream and Monterey Jack cheese.
Southwestern Chili
- Includes corn, black beans, and roasted poblano peppers.
- Topped with queso fresco and avocado for a fresh finish.
How to Make a Low-Carb or Keto Steak Chili
Want to enjoy steak chili on a low-carb or keto diet? Here’s how:
Skip the Beans – Replace with extra beef or mushrooms for texture.
Use a Low-Carb Thickener – Instead of cornstarch or masa harina, use xanthan gum or let it reduce naturally.
Choose Keto-Friendly Toppings – Stick to cheese, sour cream, and avocado.
Boost the Fat Content – Add bacon or extra olive oil for keto-approved richness.
Storing and Reheating Leftover Chili
Steak chili gets even better the next day as the flavors meld. Here’s how to store and reheat it properly:
Refrigerate: Store in an airtight container for up to 5 days.
Reheat: Warm on the stovetop over medium heat, adding a splash of broth if needed.
Freezing and Meal Prep Tips
Want to freeze chili for future meals? Here’s how:
Let It Cool Completely before freezing to prevent ice crystals.
Use Freezer-Safe Containers or Ziploc bags (lay bags flat to save space).
Freeze for Up to 3 Months – Beyond that, flavors may fade.
Reheat from Frozen – Thaw overnight in the fridge, then warm on the stove.
Common Questions About Steak and Chili
1. What’s the best steak cut for chili?
- Chuck roast, brisket, or sirloin for the best flavor and tenderness.
2. Can I make steak chili in an Instant Pot?
- Yes! Use the sauté function to sear the meat, then pressure cook for 45 minutes on high.
3. Should chili be thick or thin?
- Thick! If it’s too thin, let it simmer uncovered to reduce.
4. Can I make chili without tomatoes?
- Yes! Try Texas-style chili, which uses only beef, broth, and spices.
5. What if my chili is too spicy?
- Add sour cream, sugar, or extra broth to balance the heat.
6. How do I get a deeper chili flavor?
- Use beer, coffee, cocoa powder, or Worcestershire sauce.
7. Should I cook chili covered or uncovered?
- Uncovered for a thicker consistency, covered if you prefer more broth.
8. What’s the best way to thicken chili?
- Simmer longer or stir in mashed beans, cornstarch, or masa harina.
9. Can I use ground beef and steak together?
- Absolutely! It adds variety in texture.
10. What makes chili taste better the next day?
- The flavors meld overnight, making it even richer!
Conclusion – Enjoying Your Homemade Steak and Chili
Congratulations! You’ve mastered steak chili—from choosing the best ingredients to serving it like a pro. Whether you prefer classic, spicy, smoky, or keto-friendly chili, there’s no wrong way to enjoy this bold and comforting dish.
So grab a bowl, load up on toppings, and enjoy the rich, slow-cooked goodness of homemade steak chili. Happy cooking!
FAQ
1. What’s the best steak cut for chili?
For a rich and tender chili, use chuck roast, brisket, short ribs, or sirloin. These cuts hold up well to slow cooking, becoming incredibly flavorful and tender.
2. Can I make steak chili in an Instant Pot?
Yes! The Instant Pot is a great option for faster cooking. Follow these steps:
- Sear the steak using the sauté function.
- Add the rest of the ingredients (broth, tomatoes, spices, and beans if using).
- Pressure cook on high for 45 minutes.
- Let the pressure release naturally before serving.
3. Should chili be thick or thin?
Thick chili is best! If your chili is too thin, let it simmer uncovered for 20–30 minutes to reduce excess liquid.
To thicken chili quickly, you can:
Mash some beans and stir them in.
Add masa harina (corn flour) or a cornstarch slurry.

